First of all,let’s have a look at following picture: car stereo autoradio after installation,GPS dvd sat nav system of 2012 Toyota Hilux.

If you would like to upgrade your car’s audio system,go to car market and willing to choose a fashionable Toyota Hilux GPS dvd.Please mind that the stereo must be suitable for your car,so you need to look carefully the radio’s trim panel to see if it’s same to your original one’s.
Next,you need to have a check for your car and make sure that you have turned off all car series and remember to unplug negative power cable before installation.
After doing all these,you need to learn how to do it if you are going to achieve it yourself.Don’t worry,it doesn’t need much skills but need you to be careful and I will show you easy installation steps for 2012 Toyota Hilux GPS dvd support BT 1080P Ipod.
2012 Toyota Hilux original head unit removal:
1.Turn off power switches as the picture show and remove three small covers in lower place
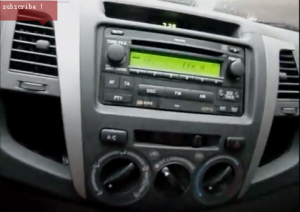

2.Take out the middle screw
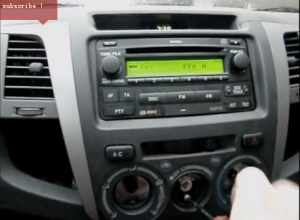
3.Push in buttons a little on left and right side

4.Take trim panel off the radio
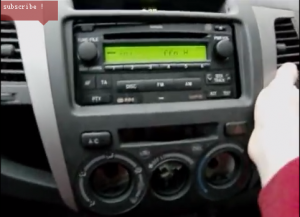
5.Disconnect cable behind it and take out two screws with a screwdriver
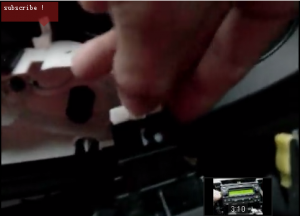

6.The cd radio after removal as the picture show
7.Release four screws that lay on two sides,remove them

8.Take out the CD player after four long screws have been removed
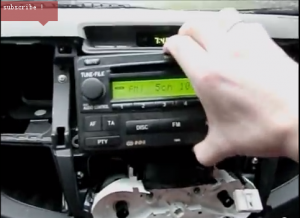
9.Disconnect wires behind the CD player

2012 Toyota Hilux GPS dvd installation:
When you have finished removing factory CD radio successfully with the help of removal guide,you can make a comparison between above removed one with yours,in order to make sure that you have done right disconnection.
As for the next work that is to install a new radio,you can read the installation instructions which is within your bought radio.There should be detailed introduction on how to make connection on all cables.
And I advise you to ask someone who is more professional to do it,after all it’s a little complex and matters much.If you feel confused or feel difficulty dealing with something,you can visit a website to have a detailed talk with workers there,for example: http://www.seicane.com/all-in-one-2012-toyota-hilux-dvd-gps-audio-system-radio-rds-tv-tuner-bluetooth-music-3g-wifi-ipod-1080p-auto-a-v-in-out-dvr-aux-pop-backup-camera-usb-sd-c143.
In fact car stereo upgrade is almost same in a large proportion,and it’s also normal to find some difference,you will solve it well only if you have made adequate preparations before you start up.
Some Precautions after installation:
1.If you want to clean the touch screen,please use a piece of clean and dry cloth and gently wipe it,do not use any liquid to wash it
2.Please do not stare at the machine especially when you are driving on a complex road,the video can bring you entertainments but not attentions or energy,so you’d better enjoy it only when you are free
3.Please pay more attention to the GPS dvd when your car is driving on a rainy day,for moisture may gather on it and cause damage to the system


Some truly nice and useful information on this internet site, too I think the style has got good features.
“Dear,
This is Seicane.com.
Thanks for interested in our product.
Could you please send us the photo of your car’s dashboard to [email protected]?
And could you please tell us the model and year of your car?
Then we can check if our unit fit your car ,hope you could cooperate with us.
Looking forward to hearing from you soon.
Thank you & Best regards!
“