In order to ensure the safety and usage of the product,please commissioned by professional technicians for installation.In addition,to avoid damage and accident,please do not disassemble the host privately.Before installation,you can start the engine to check the dashboard function display and button operation whether is normal;the car inside and outside surface whether have the squandering phenomenon.Then the installer will reflect to customers if have any problems.One car DVD player will bring you too much entertainment and convenience.But the installation is different from each other.Today I will tell you how to install 2012 2013 Mercedes Benz A Class B Class DVD sat nav head unit.When installing,the wire arrangement must be reasonable.Normally,the space for installation is limited.It is recommended to reduce the unnecessary wirings to make the Android 4.4 car DVD easy to install and access.The cables and wires to the car radio head unit must be routed properly to avoid touching any moving parts,such as steering wheel column acceleration pedal and brake pedal.all the cables must be bonded properly to against any loose during driving.If you need to install the reverse camera,you must enter into the setting menu to choose reverse power on.There are detailed steps to this Mercedes Benz car DVD player removal.
1.The Mercedes A180 appearance
2.The dashboard

3.Combined sleeve,plastic crow plate,3m electrical adhesive,3m adhesive,cotton and screwdriver
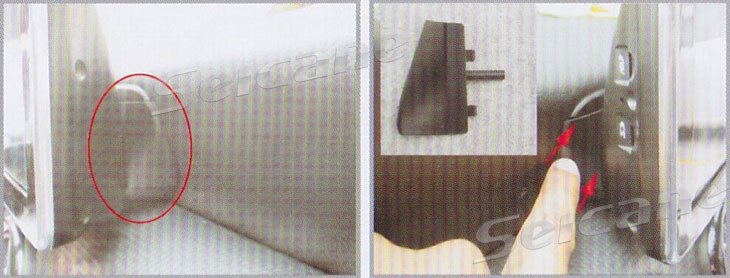
4.Use a knife to pull out the air-conditioning window card slot

5.Use a knife to pull out the air-conditioning window card slot
6.The effect after removed

7.Loosen the fixing two screws on the original car audio host
8.Pry the original CD machine

9.Pull out the right side’s connection cables
10.Pluu out the connection cable and take out the CD machine

11.Loosen the 2 screws on the top of original display screen
12.After loose,pull it out

13.Take out all connection cables
14.The effect

15.Pry the original screen rear seat support plastic frame
16.The effect

17.Remove the fixing screws
18.Remove the original display screen below the bracket

19.The effect
20.Pry the side’s panel

21.The effect
22.Remove the fixing screws

23.Remove the screws on the storage box
24.Remove the screws on the storage box

25.The effect
26.Take out the connection cables

27.Take out the connection cables
28.The effect

29.Fix our car DVD player
30.The equipped bracket

31.Lock the fixing screws
32.Insert our equiped cables

33.Fix our car DVD player
34.Insert the right side’s objection

35.The effect
36.Insert the left side’s objection
37.The effect
38.Connect all the cables

39.Connect all the cables
40.Install the dashboard

41.The effect after installed

When finished all of these steps,you can check out all installation and make sure whether it has reversed or not.Testing navigation card and navigation antenna to make sure whether it has been connected correctly or not.It should be able to search and locate GPS. Then you can check the radio signal and whether the radio antenna works or not.You car DVD will work normally if the installation is completed in right ways.Confirming Bluetooth function and linking to Bluetooth to make sure it works or not.Usually,Mercedes Benz car nav machine is a little complicated comparing with other car models.So having professional staff do it is a wise choice.You will obtain a great journey after installing our Android 4.4 car DVD player!
Chiedo di avere la traduzione in italiano per il montaggio dell’autoradio P336 per mercedes GLA audio A20. grazie
dear,
yes,our unit can support the Italian.
Could you please send us the photo of your car’s dashboard to [email protected]?
And could you please tell us the model and year of your car?
Then we can help you check if this unit can fit your car or not ,hope you could cooperate with us.
Looking forward to hearing from you soon.
Thank you & Best regards!