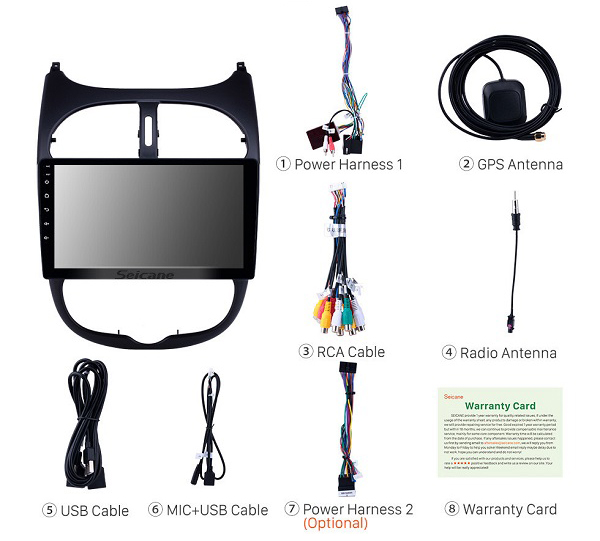
In today’s fast-paced world, cars have become more than just a mode of transportation—they’ve transformed into mobile hubs of entertainment, communication, and convenience. One of the most impactful upgrades car owners can make is to the infotainment system. A modern car infotainment upgrade can significantly enhance driving comfort, safety, and overall experience. But how exactly does upgrading your car’s infotainment system benefit you? Let’s take a closer look at the convenience and advantages it offers.

1. Enhanced Connectivity and Integration
One of the most noticeable improvements with a car infotainment upgrade is the increased connectivity with your smartphone and other devices. Newer systems integrate seamlessly with Apple CarPlay and Android Auto, which means you can access your smartphone’s apps directly from the car’s screen. This allows you to use your phone’s navigation, make calls, send messages, and even listen to music, all without touching your phone.
According to a study by the Automotive World, in-car connectivity has become one of the top demands of consumers, with more than 60% of car buyers considering it an essential feature (Automotive World, 2021). These systems not only keep you connected but also reduce distractions, as you can control everything with voice commands or touch screen functions. This level of integration significantly enhances both convenience and safety.

2. Improved Navigation and Real-Time Information
Upgrading to a more advanced infotainment system also means better navigation features. Modern systems often come with real-time traffic updates, points of interest, and routing options that consider current road conditions. For example, with systems like Google Maps or Waze, you can get live traffic alerts, road closures, and alternate routes to avoid congestion.
In fact, a study by AAA found that 1 in 3 drivers used navigation apps like Google Maps or Waze during their travels, noting that these tools could save time and help avoid accidents. When paired with a larger, high-resolution screen, navigation becomes more intuitive, reducing driver stress and improving trip planning.

3. Voice Command Features for Safety
Another major benefit of upgrading your car’s infotainment system is the addition of advanced voice control features. Modern infotainment systems are equipped with natural language processing (NLP), which allows drivers to issue voice commands in a more conversational tone. This reduces the need to take your hands off the wheel or eyes off the road.
Voice control extends beyond simple functions like making calls or changing music tracks. With systems like Amazon Alexa or Google Assistant, drivers can ask questions, control home automation systems, and even get real-time news updates, all hands-free. This integration of voice assistants not only makes your drive more convenient but also safer by minimizing distractions.

4. Increased Entertainment Options
Long road trips or daily commutes can be more enjoyable with a more feature-rich infotainment system. Upgraded systems allow for streaming services like Spotify, Apple Music, and Pandora, providing endless music choices. You can also stream videos from platforms like YouTube (when safely parked), or listen to podcasts, audiobooks, and even connect with other apps.
For families or passengers, infotainment systems also offer rear-seat entertainment options, making longer journeys much more comfortable. This level of entertainment ensures that all occupants are engaged and entertained, turning what would otherwise be a mundane drive into a more enjoyable experience.

5. Enhanced Safety Features
Beyond entertainment and convenience, an upgraded infotainment system can also enhance your safety on the road. Many modern systems come with advanced safety features such as lane departure warnings, collision alerts, and rearview cameras, all of which are integrated into the display screen. These systems are designed to prevent accidents by alerting the driver to potential hazards, improving reaction time, and providing better awareness of the surroundings.
Research by the National Highway Traffic Safety Administration (NHTSA) has shown that integrating advanced safety systems in cars can significantly reduce the likelihood of accidents, particularly rear-end collisions. With these features, an upgraded infotainment system becomes an important tool in helping drivers stay aware and avoid dangers.

6. Future-Proofing Your Vehicle
With rapid advancements in technology, a car that may seem state-of-the-art today can quickly become outdated. Upgrading your car’s infotainment system ensures that your vehicle remains compatible with the latest technology, including new apps, system updates, and connectivity features. This “future-proofing” can extend the lifespan of your car’s technological features and make it more desirable if you ever decide to sell or trade it in.
Additionally, many aftermarket infotainment systems offer regular software updates to keep the system fresh and compatible with new smartphones and digital technologies, meaning you don’t have to worry about your system becoming obsolete anytime soon.

Conclusion
Upgrading your car’s infotainment system is more than just a luxury—it’s a practical decision that brings a range of benefits. From enhanced connectivity, navigation, and entertainment options, to better safety features and long-term value, an upgraded infotainment system improves every aspect of your driving experience. Whether you’re looking to stay more connected, entertained, or safe, the advantages of upgrading your car’s infotainment system are clear.
If you’re considering an upgrade, take the time to explore the options that best suit your needs and ensure that your driving experience stays up-to-date with the latest in-car technology.
Have you recently upgraded your car’s infotainment system? Share your thoughts and experiences with us in the comments below, or let us know what features you’re most excited about in your next car upgrade!


Recent Comments